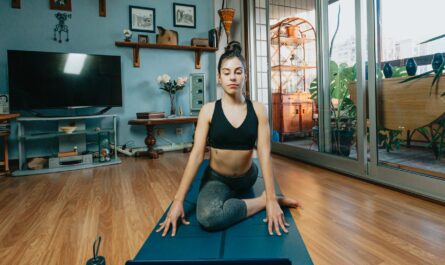
 by
Starting to exercise at home is easy to overcomplicate. You do not need an app subscription, a home gym, or a different workout every day. You need a small set of movements you can learn properly, a schedule you can repeat, and a clear way to make each week slightly harder than the last.
That is what this four-week plan does. It uses no equipment — just your body weight, a chair, a wall, and enough floor space for a mat. You will train three days a week, for 20–30 minutes a session, and by the end of week four you should be stronger, fitter, and more confident in how you move. It is designed for genuine beginners, including women returning to exercise after a break, and it builds directly on the movements in our beginner home workout plan for women over 40.
If you have a health condition, have been inactive for a long time, or are recovering from an injury, speak to your GP or another qualified health professional before starting. Stop if you feel sharp pain, dizziness, or chest pain. Mild muscle effort and next-day stiffness are normal; lingering joint pain is not.
How the plan is structured
Train three times a week, on non-consecutive days — Monday, Wednesday, and Friday works well. Session A is lower body and core, Session B is upper body and core, and Session C is a full-body circuit. You repeat the same three sessions each week, but volume and difficulty increase slightly week by week. That repetition is deliberate: practising the same movements is how you learn good form, and good form is what makes progress safe.
Every session starts with the same five-minute warm-up — one minute marching on the spot, 10 arm circles each way, 10 hip circles each way, 10 slow chair squats, and 10 standing knee lifts — and ends with five minutes of slow stretching. Work at a pace where you can still speak in short sentences, and where the last two repetitions of each set feel challenging but doable with good form. Rest 60 seconds between sets in weeks one and two, and 45 seconds in weeks three and four. Move slowly: lower for two seconds, lift for one.
The exercises
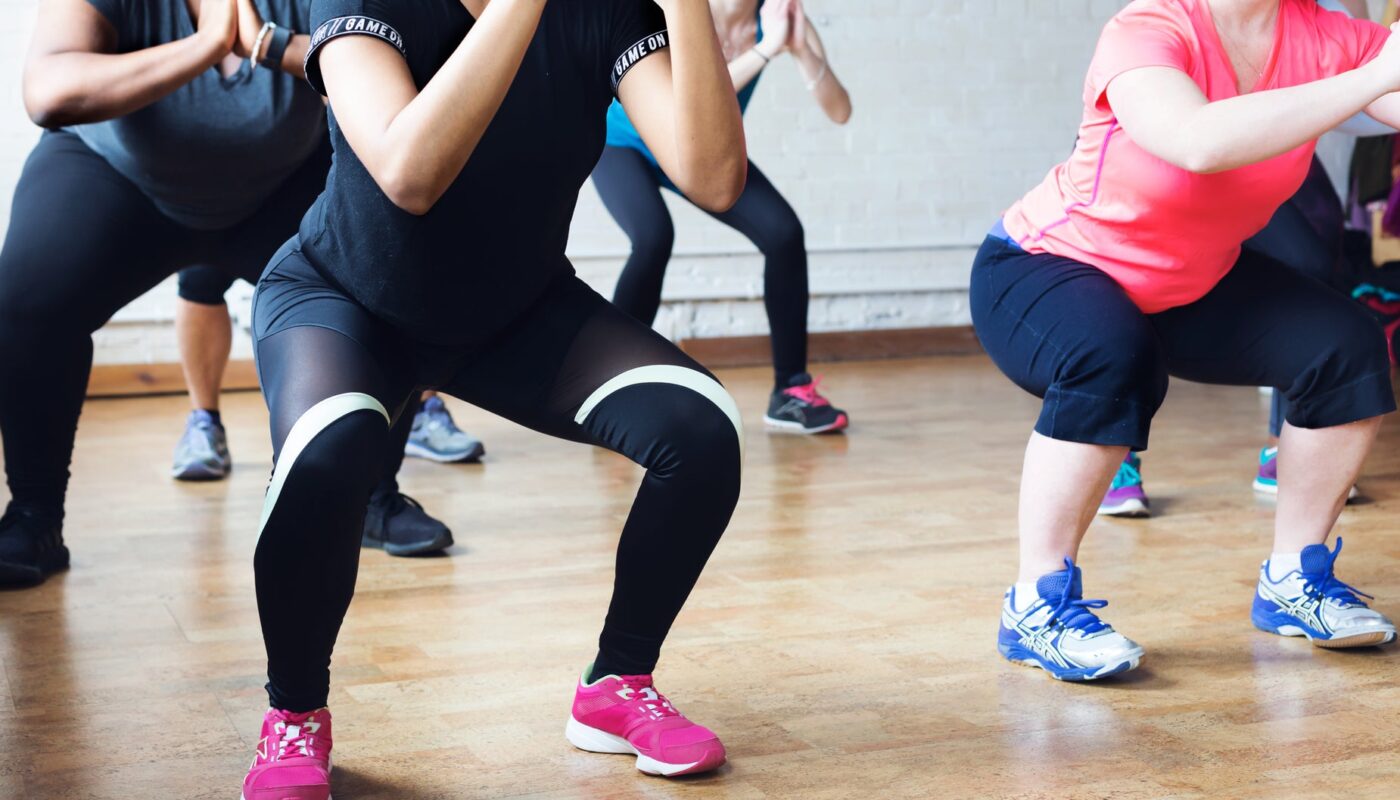
Chair squat: Stand in front of a sturdy chair, feet hip-width apart. Push your hips back, bend your knees, lightly touch the seat, and stand tall through your heels. Keep your chest up and knees in line with your toes.
Glute bridge: Lie on your back, knees bent, feet flat. Press through your heels and lift your hips until shoulders, hips, and knees form a straight line. Squeeze your glutes at the top, then lower slowly without arching your back.
Reverse lunge: Step one foot back, lower your back knee towards the floor, keep your front knee over your ankle, and push through your front heel to stand. Hold a chair lightly for balance if needed.
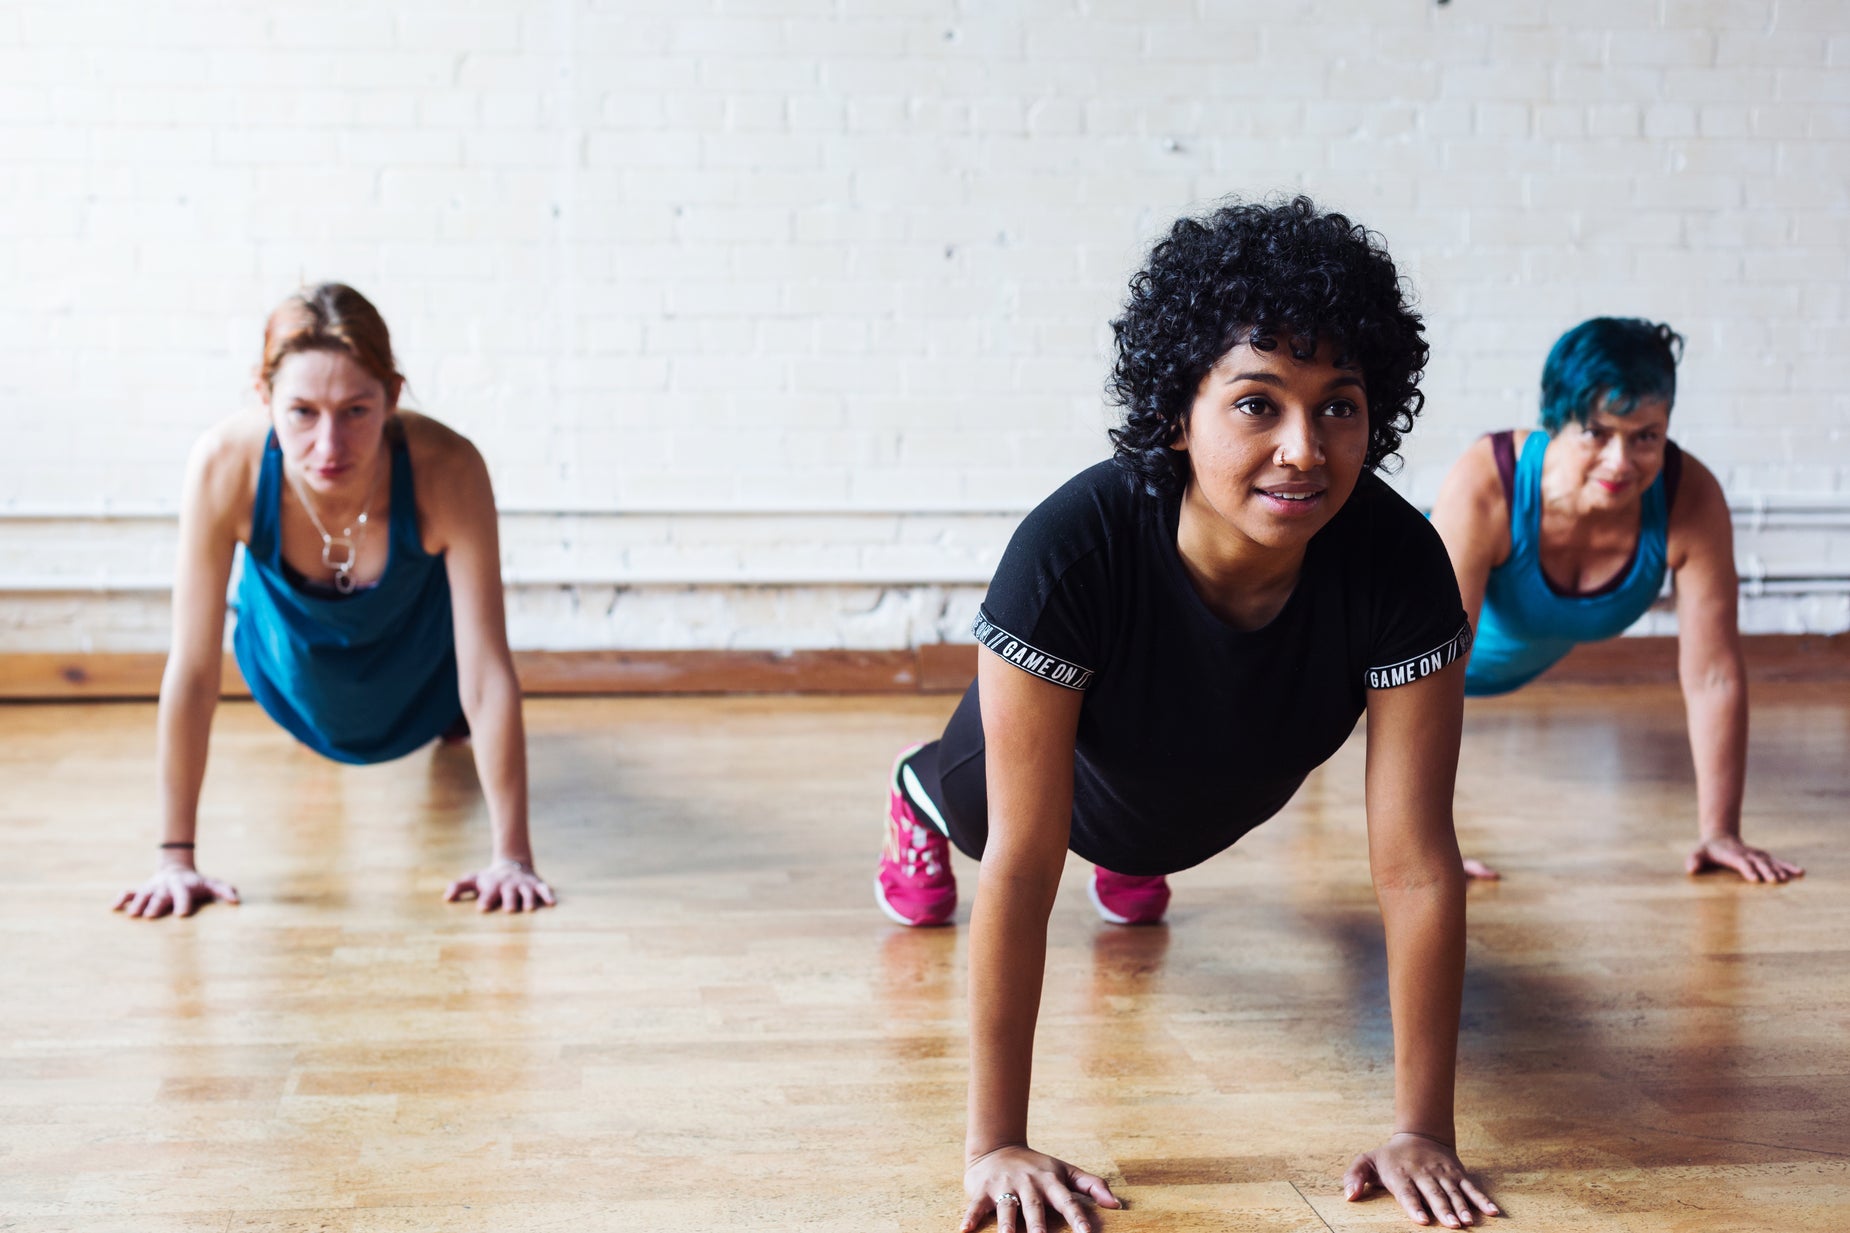
Wall or knee press-up: Hands on a wall at shoulder height, or on the floor with knees down, lower your chest towards your hands and press back, keeping your body straight. Step further from the wall to make wall press-ups harder.
Table row: Facing a sturdy table or worktop at hip height, hold the edge, walk your feet back until your body is at an angle, and pull your chest towards the table by bending your elbows and squeezing your shoulder blades together. Only use furniture that is heavy, stable, and will not tip or slide.
Dead bug: Lying on your back with arms up and knees at 90 degrees, press your lower back into the floor, extend one arm and the opposite leg slowly, and return. Shorten the reach if your back starts to arch.
Knee plank: On hands and knees, walk your knees back a little and hold a straight line from head to knees, on forearms or straight arms. Breathe normally — holding your breath makes planks harder, not more useful.
Week 1: Learn the movements
The goal is form, not exhaustion. Do two sets of each exercise, stopping while you could still do two more good repetitions.
Session A — Lower body and core: Chair squat 2 × 8, glute bridge 2 × 10, reverse lunge 2 × 6 per leg, dead bug 2 × 6 per side, knee plank 2 × 20 seconds.
Session B — Upper body and core: Wall press-up 2 × 8, table row 2 × 8, glute bridge 2 × 10, dead bug 2 × 6 per side.
Session C — Full body circuit: One round of chair squat × 8, wall press-up × 8, glute bridge × 10, marching on the spot for 30 seconds, and dead bug × 6 per side. Rest one minute, then repeat once more.
You will probably feel muscle soreness the day after your first session, especially in thighs and glutes. That is normal delayed-onset soreness and fades as your body adapts. A gentle walk on rest days helps more than sitting still. If soreness is severe or one-sided, take an extra rest day and start the next session a little easier.
Week 2: Add a little more
Keep the same exercises but add repetitions. Your body has learned the patterns; now it needs a slightly bigger stimulus.
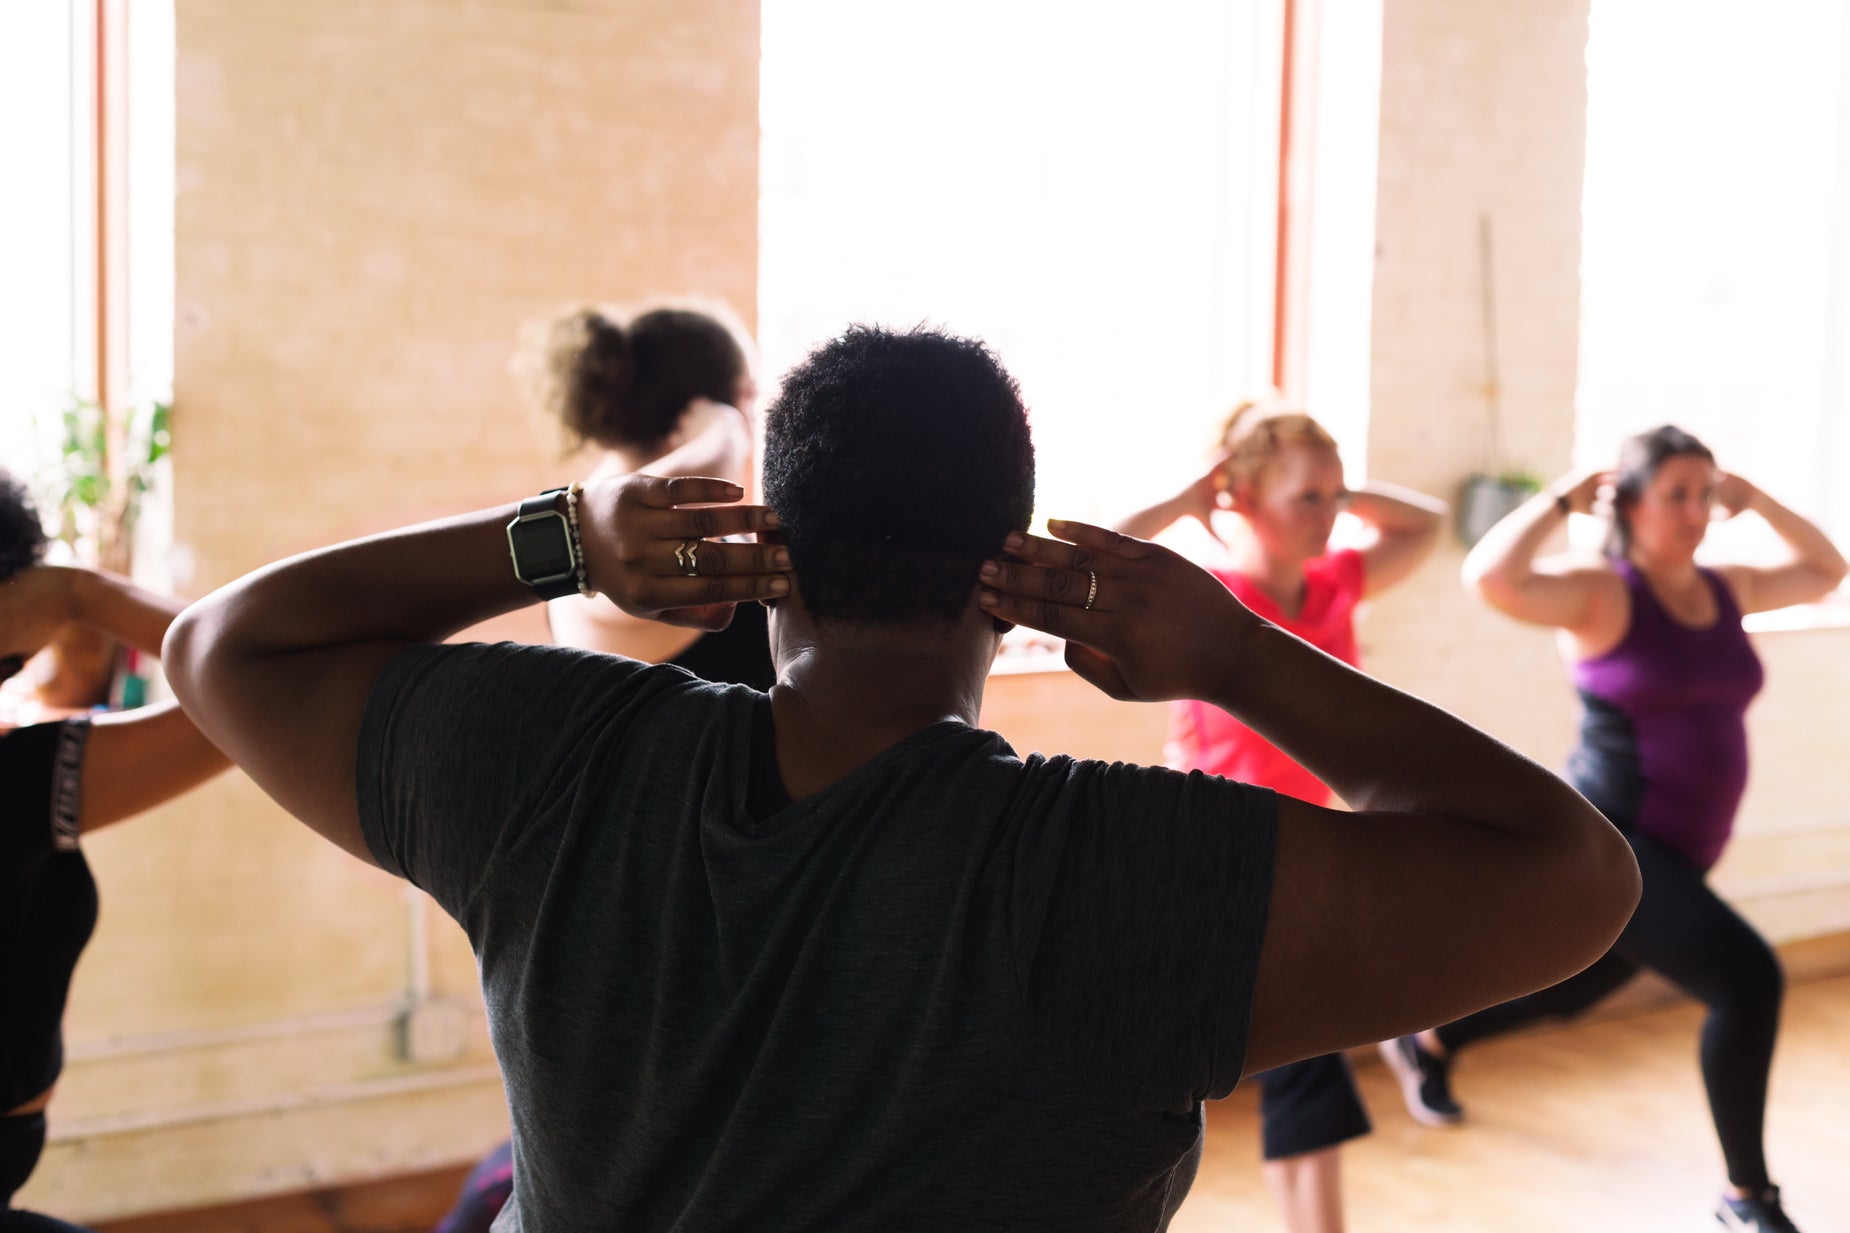
Session A: Chair squat 2 × 10, glute bridge 2 × 12, reverse lunge 2 × 8 per leg, dead bug 2 × 8 per side, knee plank 2 × 25 seconds.
Session B: Wall press-up 2 × 10, table row 2 × 10, glute bridge 2 × 12, dead bug 2 × 8 per side.
Session C: Two rounds of chair squat × 10, wall press-up × 10, glute bridge × 12, marching for 45 seconds, and dead bug × 8 per side, with 60 seconds' rest between rounds.
By the end of week two, most beginners notice the first real signs of progress: squats feel less wobbly, press-ups feel less heavy, and the plank feels less like a countdown. Write these observations down — they are easy to forget, and they are evidence the plan is working long before any visible change.
Week 3: Add a third set
Add a third set to the main exercises and shorten rest to 45 seconds. If any exercise now feels easy, use its harder version: squat without touching the chair, step further from the wall for press-ups, or hold each glute bridge for three seconds at the top.
Session A: Chair squat 3 × 10, glute bridge 3 × 12, reverse lunge 3 × 8 per leg, dead bug 2 × 8 per side, knee plank 2 × 30 seconds.
Session B: Wall press-up 3 × 10, table row 3 × 10, glute bridge 3 × 12, dead bug 2 × 8 per side.
Session C: Three rounds of chair squat × 10, wall press-up × 10, glute bridge × 12, marching for 45 seconds, and dead bug × 8 per side, with 45 seconds' rest between rounds.
Week three is when life most often intervenes. If you miss a session, do not double up to catch up. Do the next session as planned, or repeat the missed one later in the week if a rest day allows. One missed session changes nothing; quitting because you missed one changes everything.
Week 4: Put it together
Keep week-three volume and add a small challenge to one exercise per session. Good options: knee press-ups on the floor instead of wall press-ups, if you can do 12 good wall repetitions; a full plank for 20 seconds instead of a knee plank; or reverse lunges without holding the chair. Choose only one progression per session, so you can judge how it feels.
Session A: Chair squat 3 × 12, glute bridge 3 × 15, reverse lunge 3 × 8 per leg, dead bug 3 × 8 per side, plank (knee or full) 2 × 30 seconds.
Session B: Press-up (wall or knee) 3 × 12, table row 3 × 12, glute bridge 3 × 15, dead bug 3 × 8 per side.
Session C: Three rounds of chair squat × 12, press-up × 12, glute bridge × 15, marching for 60 seconds, and dead bug × 8 per side, with 45 seconds' rest between rounds.
At the end of week four, compare yourself with week one specifically. Can you squat deeper, or without the chair? Can you do more press-ups, or from a harder position? Can you hold a plank longer without your hips dropping? For most consistent beginners, the answer to at least two of those will be yes.
The full plan at a glance
| Week | Sessions per week | Sets per main exercise | Rest between sets | Session length |
| 1 | 3 | 2 | 60 seconds | About 20 minutes |
| 2 | 3 | 2 | 60 seconds | About 25 minutes |
| 3 | 3 | 3 | 45 seconds | About 30 minutes |
| 4 | 3 | 3, plus one harder variation | 45 seconds | About 30 minutes |
Session length includes warm-up and cool-down. If a session runs long because you are resting properly between sets, that is fine — do not rush rest to fit an arbitrary time.
Making it fit real life
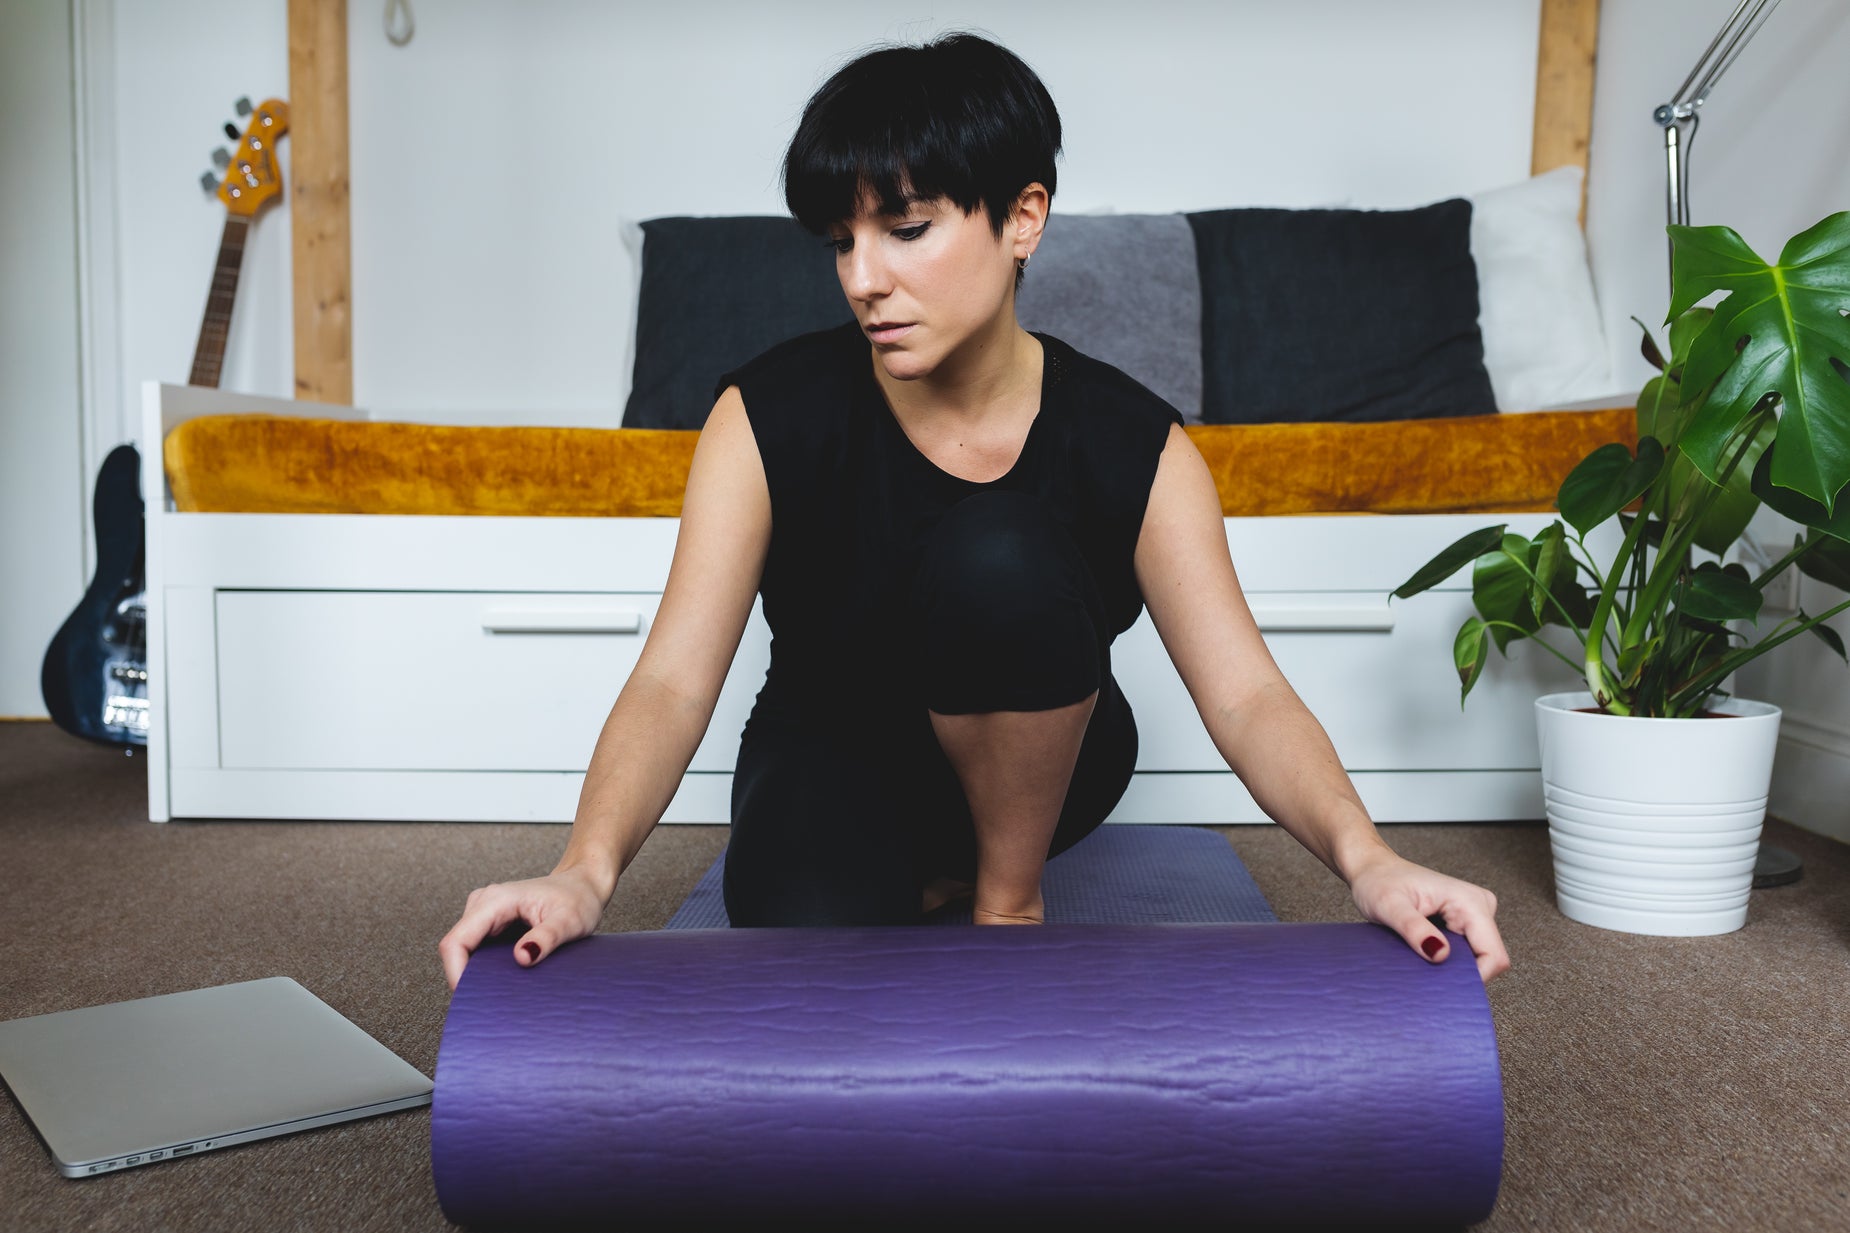
Pick your three days now and put them in your diary like appointments, at the same time each day if you can, with your mat unrolled and chair in place. On rest days, aim for a brisk walk, which counts towards the UK guidance of at least 150 minutes of moderate activity a week. This plan is also flat-friendly: no jumping, no running on the spot, and no dropped weights.
What to do after week 4
Repeat the plan starting at week-three volume, adding light dumbbells or a resistance band to the squat, row, and bridge. Or move to a more specialised plan — a low-impact programme if your joints prefer gentler work, or a strength-focused plan with weights if you enjoyed the strength sessions most. Whatever you choose, keep the principles that made these four weeks work: the same movements, practised well; progression in small steps; rest days respected; and form before numbers. Beginners often stall not because they need a fancier programme, but because they abandon a working one too soon.
Frequently asked questions
Can I really get fit at home with no equipment?
Yes, as a beginner. Your body weight provides plenty of resistance when the movements are new, and this plan progresses by adding repetitions, sets, and harder variations before any equipment is needed. Equipment is a next step, not a starting requirement.
What if I can only manage two sessions a week?
Two sessions are still worthwhile, and far better than none. Do Sessions A and B, and alternate Session C in place of one of them every other week if you like. You will progress more slowly than on three sessions, but you will still progress.
What if an exercise hurts my knees or wrists?
Modify it first: shorten a squat or lunge, use a higher chair, do press-ups on the wall rather than the floor, or do a forearm plank. If pain persists despite modifications, stop that exercise and speak to your GP or a physiotherapist. Pain is information, not something to train through.
Related reading
- Beginner Home Workout Plan for Women Over 40 UK (pillar)
- Low Impact Home Workout Plan for Beginners