
 by
Strength training is, at its simplest, practising getting stronger on purpose. You choose a handful of movements, do them with good form, rest, and then make them slightly harder over time. You do not need to lift heavy weights in week one, spend hours in a gym, or follow a different workout every day. You need a plan you can repeat, and a way to know when you are ready for more.
This eight-week plan is built for women who are new to strength training, or returning after a long break. It uses body weight first, then light dumbbells or a resistance band when you are ready. It takes about 30 to 40 minutes per session, three times a week, and it can be done at home. It builds directly on the movements in our beginner home workout plan for women over 40, so if you have already practised chair squats, glute bridges and wall press-ups, you will recognise the starting point here.
Before you start: if you have a health condition, have been inactive for a long time, are pregnant or recently postnatal, or are recovering from an injury or surgery, speak to your GP or another qualified health professional first. This article is general information, not medical advice. Sharp pain, dizziness, chest pain, leaking, or a feeling of heaviness or pressure during exercise are stop signals — stop, and seek advice rather than pushing through.
Why strength training, and why now
Strength is about what you can do: carrying shopping, climbing stairs, getting up from the floor easily, and staying steady on uneven ground. Muscle also supports your joints and posture, and helps you keep doing the activities you enjoy as you get older.
The UK guidance for adults, published by the NHS and based on the UK Chief Medical Officers' recommendations, is a useful long-term target: strengthening activities that work all the major muscle groups — legs, hips, back, abdomen, chest, shoulders and arms — on at least two days a week, alongside at least 150 minutes of moderate-intensity activity a week, or 75 minutes of vigorous activity. This plan gives you three strength sessions a week, which comfortably covers the strengthening part, and you can add brisk walks on rest days for the aerobic part. You do not need to hit the full target in week one. The plan builds towards it.
How the plan works
Train three times a week on non-consecutive days — Monday, Wednesday and Friday works well — with at least one rest day between sessions. Strength is built during recovery, not during the session itself, so rest days are part of the training, not days off from it.
Every session follows the same shape: a five-minute warm-up, a main workout of six exercises, and a five-minute cool-down. The warm-up is marching on the spot for one minute, 10 arm circles each way, 10 hip circles each way, 10 slow chair squats, and 10 standing knee lifts. The cool-down is slow stretches for the hamstrings, quadriceps, calves, glutes, chest and shoulders, held for 20 to 30 seconds each without bouncing.
Work at an effort where the last two repetitions of each set feel challenging but your form stays good. Coaches call this leaving two repetitions "in reserve". If you could easily do five more repetitions, the exercise is too easy and it is time to progress. If your form falls apart, use the easier version. Move slowly — lower for about two seconds, lift for about one — and breathe out on the effort, in as you return. Never hold your breath to force a repetition up.
You need very little equipment to start: a sturdy chair, a wall, a mat or rug, and water. From week three onwards, a pair of light dumbbells or a resistance band is useful, but not essential — you can progress bodyweight exercises for several weeks before you need any kit at all.
The six core exercises
These six movements cover the whole body. Learn them well before you worry about adding anything else.
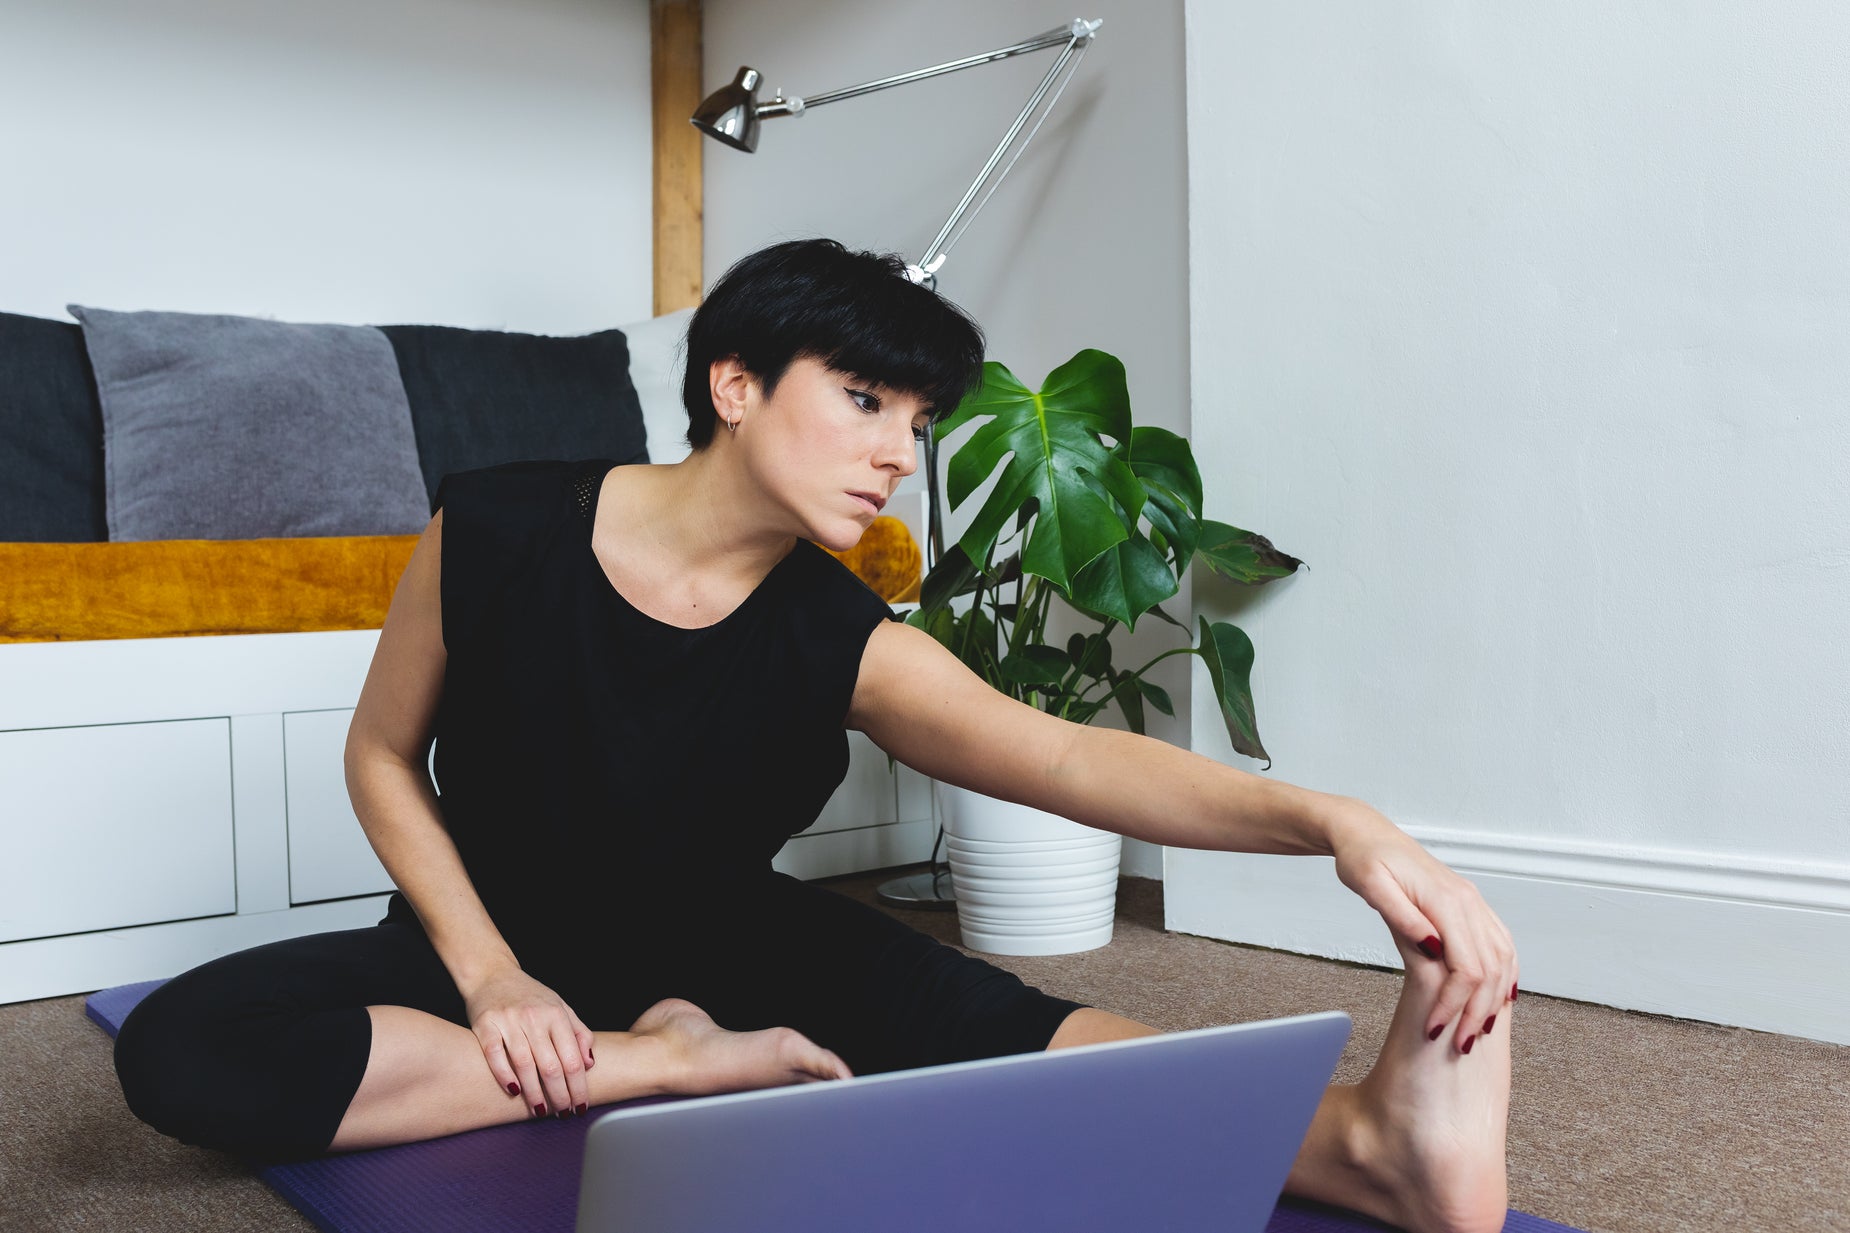
1. Goblet squat (or chair squat)
Stand with feet hip-width apart, toes slightly out, holding a dumbbell vertically at your chest with both hands if you are using one, or with arms out in front if you are not. Push your hips back, bend your knees, and lower until your thighs are roughly parallel to the floor, or to a comfortable depth. Keep your chest lifted, your heels on the floor, and your knees in line with your toes. Stand tall through your heels. If you are new to squatting, start with the chair squat from our beginner plan: lightly touch a sturdy chair seat, then stand. The chair gives you a target and a safety net.
2. Glute bridge
Lie on your back, knees bent, feet flat and hip-width apart. Press through your heels, squeeze your glutes, and lift your hips until shoulders, hips and knees form a straight line. Hold for two seconds, then lower slowly without arching your lower back. This strengthens the hips and the backs of the legs, and supports your lower back, walking and standing.
3. Dumbbell or bottle row
Stand with feet hip-width apart, a dumbbell or water bottle in each hand. Hinge forwards from your hips with a slight knee bend and a flat back, until your torso is at roughly 45 degrees. Pull your elbows back past your waist, squeezing your shoulder blades together, then lower slowly. Rows strengthen the upper and mid-back and counter the rounded-shoulder posture that comes from sitting, driving and phone use. If your lower back feels strained, stand more upright and reduce the weight.
4. Press-up (wall, knee, or floor)
For a wall press-up, stand arm's length from a wall, hands flat at shoulder height and slightly wider than your shoulders. Bend your elbows, lower your chest towards the wall, and press back, keeping your body straight from head to heels. Move to knee press-ups on the floor when 12 good wall repetitions feel comfortable, and to full press-ups only when 12 good knee repetitions feel comfortable. Press-ups build the chest, shoulders and arms, and teach you to brace your core while your arms work.
5. Reverse lunge
Stand tall, holding a chair lightly for balance if needed. Step one foot back, lower your back knee towards the floor, keep your front knee over your ankle, then push through your front heel to stand. Reverse lunges are generally kinder on knees than forward lunges, because you control the step and your front leg stays planted. Shorten the step or the range to make it easier; let go of the chair, or hold light dumbbells, to make it harder.
6. Dead bug
Lie on your back, arms towards the ceiling, knees bent at 90 degrees. Press your lower back gently into the mat, then slowly extend one arm overhead and the opposite leg out straight, hovering above the floor, without letting your back arch. Return and switch sides. This is a core exercise, not a sit-up: it teaches your deep core to keep your spine stable while your limbs move. If your back arches, shorten the reach or keep the knee bent.
The eight weeks at a glance
Do the same six exercises each session, in the order above, resting 60 seconds between sets in weeks one to four and 45 seconds from week five onwards. Progress only one thing at a time: repetitions, sets, weight, or a harder variation — never all four at once.
Weeks 1–2: Learn the movements. Two sets of each exercise: squat 8, glute bridge 10, row 10, press-up 8, reverse lunge 6 per leg, dead bug 6 per side. Use body weight, or the lightest dumbbells you have for the row only. The goal is form, not exhaustion.
Weeks 3–4: Add repetitions. Two sets of each exercise: squat 10, glute bridge 12, row 12, press-up 10, reverse lunge 8 per leg, dead bug 8 per side. Add light dumbbells to the squat and row if bodyweight repetitions now feel easy. If you miss a session, do not double the next one. Just do the next scheduled session.
Weeks 5–6: Add a third set. Three sets of each exercise at week 3–4 repetitions, with 45 seconds' rest between sets. Expect sessions to feel longer — about 35 to 40 minutes. If any exercise now feels easy, use its harder version, but choose only one harder variation per session.
Weeks 7–8: Consolidate and test. Keep three sets, and add two repetitions to each exercise, or a small weight increase to one exercise per session. In week eight, test yourself against week one: can you squat deeper, or without the chair? Can you do more press-ups, or from a harder position? For most consistent beginners, the answer to at least two of those will be yes.
| Phase | Weeks | Sets | Rest between sets | Session length |
| Learn | 1–2 | 2 | 60 seconds | About 30 minutes |
| Build | 3–4 | 2, more repetitions | 60 seconds | About 30 minutes |
| Strengthen | 5–6 | 3 | 45 seconds | About 35–40 minutes |
| Consolidate | 7–8 | 3, more repetitions or weight | 45 seconds | About 35–40 minutes |
Session length includes warm-up and cool-down.
Form mistakes to avoid
Rushing repetitions, holding your breath, letting your knees collapse inwards, arching your lower back, and rounding your back in the row are the habits that cause most beginner problems. In every case, a smaller range done well beats a bigger range done badly.
Recovery, sleep and food
You do not need a diet overhaul: include a source of protein at each meal, drink water through the day, and prioritise sleep, since much muscle repair happens overnight. Avoid training the same muscles hard on consecutive days. If soreness is severe, one-sided, in a joint, or has not eased after three days, ease off and seek advice.
What to do after week 8
Repeat the plan starting at week 5–6 volume, with slightly heavier dumbbells or a stronger band, or move to a dumbbell-focused routine or a gym-based guide. Keep the principles that made these eight weeks work: the same movements, practised well; progression in small steps; rest days respected; and form before numbers.
FAQ
How many days a week should a woman beginner strength train?
Two sessions a week is enough to start and to make real progress, matching the NHS guidance for strengthening on at least two days a week. This plan uses three, which gives a little more practice and faster skill learning, provided you recover well between sessions. More is not automatically better.
Do I need a gym for this plan?
No. The whole plan can be done at home with a chair, a wall, a mat and, from week three onwards, light dumbbells or a band if you wish. A gym becomes useful later, when you want heavier weights or barbell lifts.
What if an exercise hurts my knees or back?
Modify it first: squat to a higher chair, shorten a lunge, do press-ups on the wall rather than the floor, or reduce the weight on the row. If pain persists despite modifications, stop that exercise and speak to your GP or a physiotherapist. Pain is information, not something to train through.
Related reading
- Beginner Home Workout Plan for Women Over 40 UK
- 4-Week Beginner Workout Plan at Home (No Equipment)
- Low Impact Home Workout Plan for Beginners